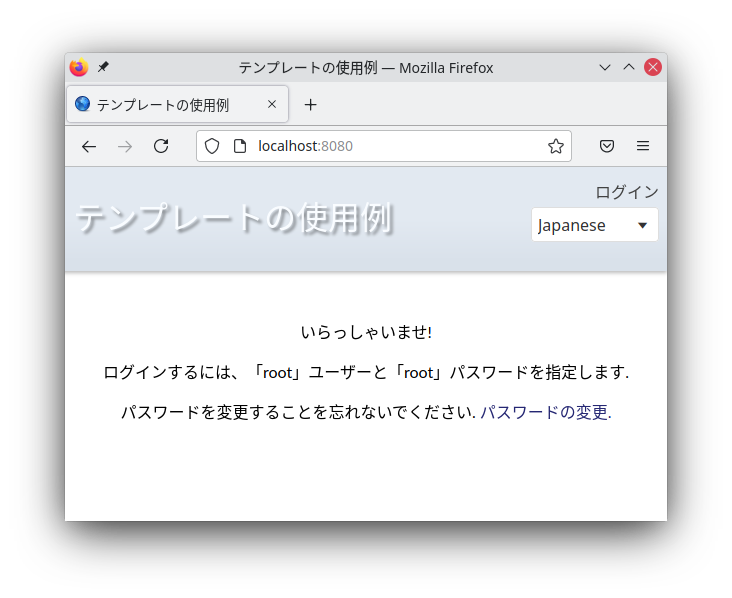
Now let's take a look at applying translations in templates and a tokenizer. First, let's change the title in the header of the site. Let's edit the base page file :templates/super/page.tmpl
Let's replace the title with the new name.
The header text is in the translation substitution construct !{{ }}!, if there is no translation in the system, then the original data is used, if a translation corresponding to the context language is found, then the translation is used.
We will also replace the title of the main page with translation. We will do this in the application's settings.config file. The "routes" array, which it stores in itself, also supports inserting translations through the !{{ }}! сonstruction. It is necessary to clarify that information about a specific route is tokenized before starting the processing of the request, so it is possible to apply translations directly in the route description.
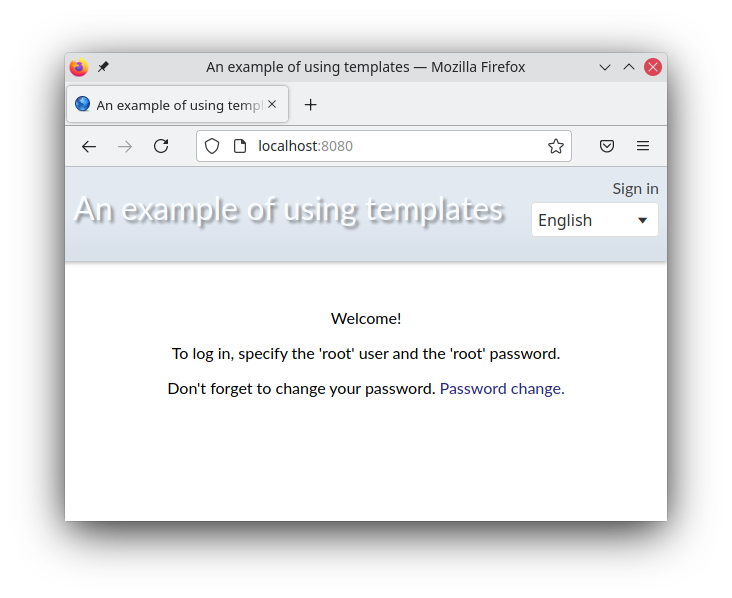
First, we need to specify which languages will be supported by the system. To do this, you need to log into the application with super user rights. The root user and the root password.
Go to the system settings of the application. Using the "System settings" item and go to the "Translations" section.
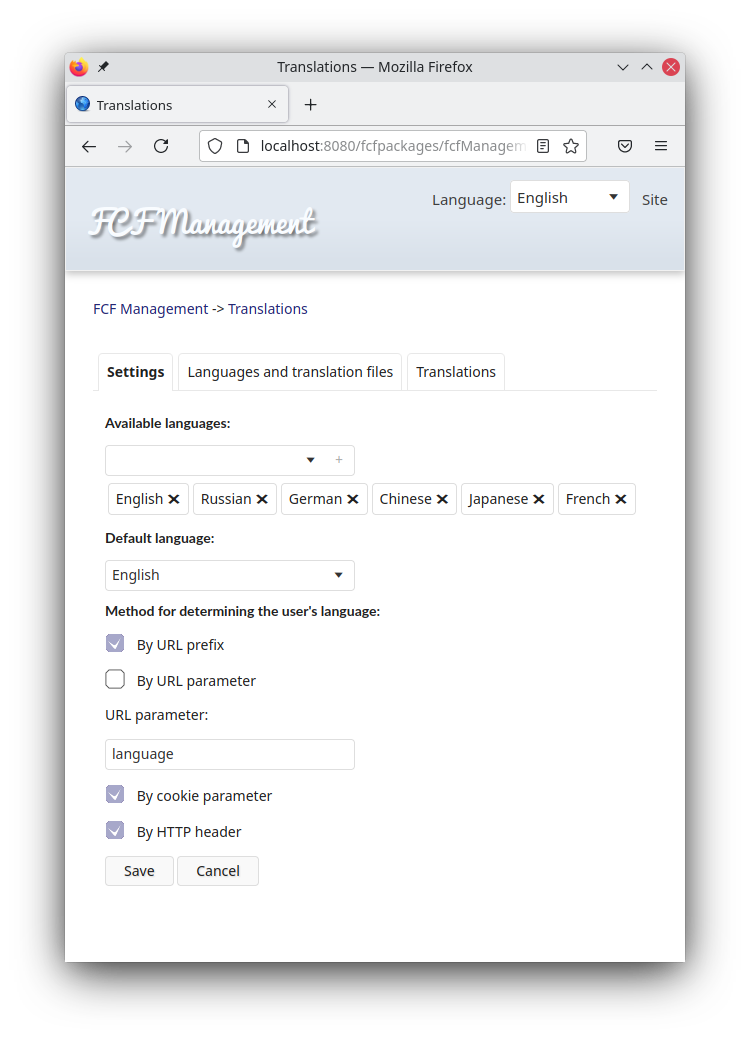
Now you need to indicate in the "Available languages" item which languages will be supported by the system.
Fill out the form as shown in the picture and click "Save".
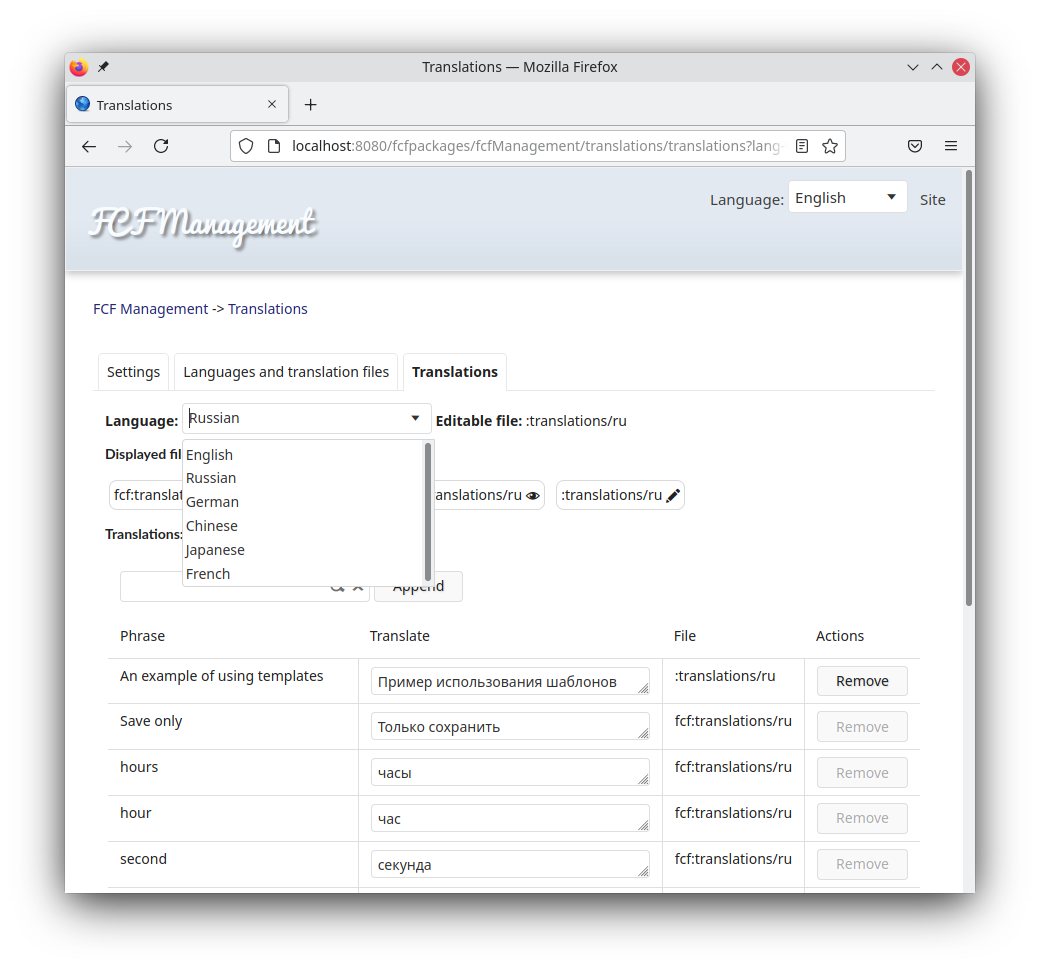
Now let's translate our entry "An example of using templates". Go to the "Translations" tab and click the "Append" button. Enter the phrase to translate and click "Ok".
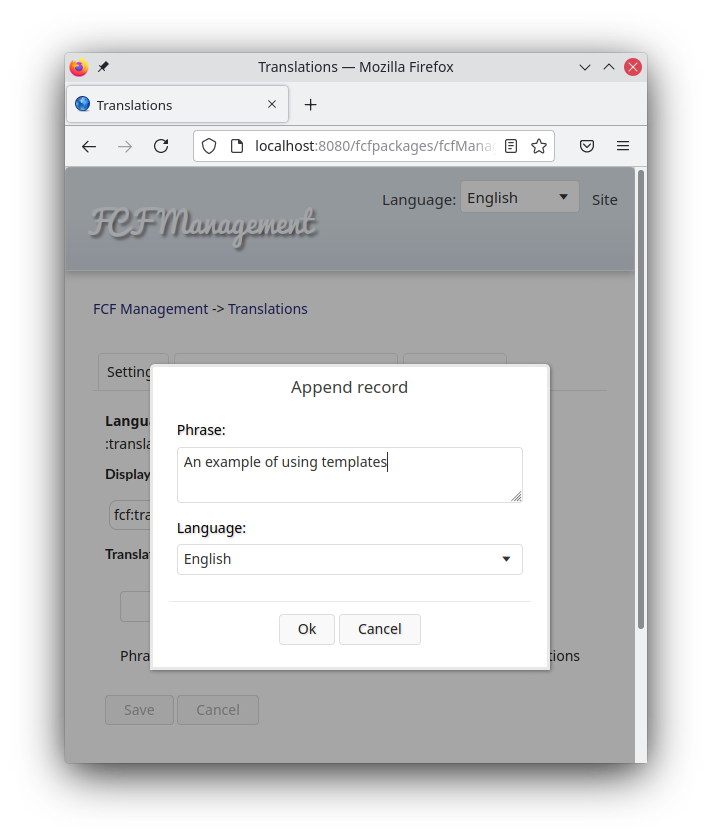
Alternately changing languages in the "Language" item, translate for each language of our entered phrase. If you know the languages perfectly, and if not, you can always use a translator.
After completing the translation for all languages, click the "Save" button.
After completing the translation, let's see the result. Let's go to the main page and change the current language. As you can see, the title in the header of the site is displayed translated.
