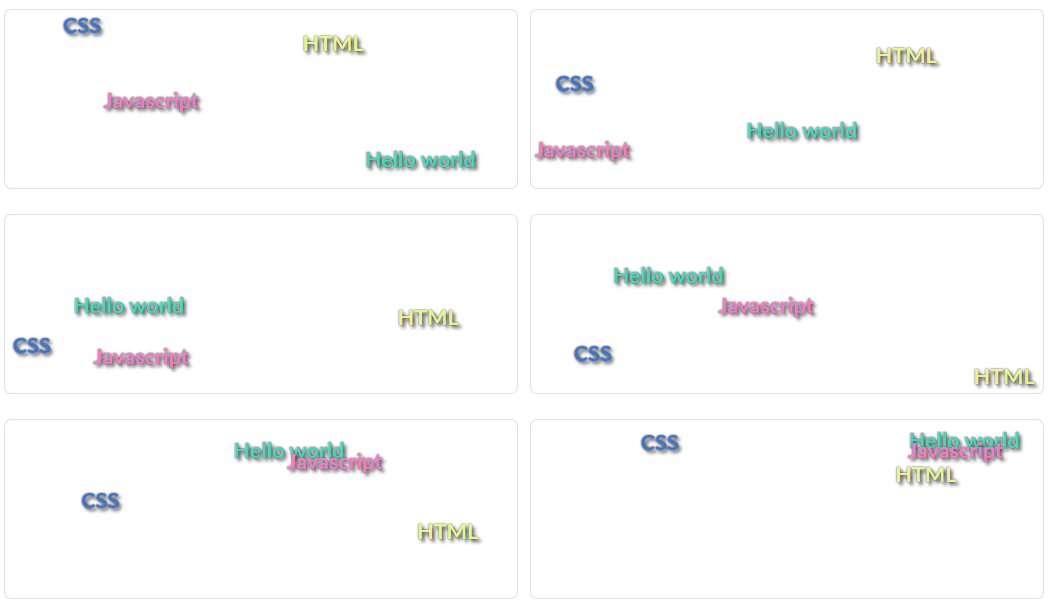
And so, let's start building our application. As mentioned earlier, our application will consist of two parts of the graphical interface: a container with moving lines at the top and a bottom part where the application configuration editing elements will be located.
First, let's create a template called moving-containers and a templates/blocks directory to place the template in.
Let's display our template on the main page of the application.
File :templates/pages/main-page.tmpl:
Now let's connect the CSS file with prepared styles to the :templates/blocks/moving-containers.tmpl template. Download the CSS file moving-containers.css and place it in the :templates/blocks directory and add an entry to the template.
File moving-containers.tmpl:
And so, in the moving-containers template, we will place the storage of an array of strings in the _strings argument, which we will read on the server side from a system variable. Accordingly, the moving-containers template must be rendered on the server side and the clientRendering template option must be set to false. Starting with this example, template arguments that are internal variables and should not be modified by external code will be named with an underscore.
Let's declare the _strings program argument in the :templates/blocks/moving-containers.tmpl file and write its content in the hooksProgrammableArgument template hook.
File :templates/blocks/moving-containers.tmpl
File :templates/blocks/moving-containers.hooks.js
Let's display a container with our strings in the template. Each row will be a separate view-item subtemplate with its own timer that will shift their position, and when shifted outside the nested container, change the motion vector.
Файл :templates/blocks/moving-containers.tmpl
And so, let's analyze what we wrote in the template. We have a main template that renders view-item subtemplates containing the strings themselves.
In the main template code, we output all rows using the reference argument. As you can see from the code, a 2-level address of the argument reference is used. The path to the reference argument must be specified in Javascript notation, using dots as field separators or square brackets []. We used passing the value through a reference argument so that when the row is edited, the view-item subpattern is automatically updated.
Also note the settings of the view-item subtemplate. The autoUpdate option is set to true to automatically update the template when editing. The clientRendering option is true because the main template does its rendering on the server side and all nested templates also inherit this setting. But for this template, this is not necessary.
Since our template only outputs one line, we set the CSS class of the wrapper DOM element using the fcfClassInner system argument.
Now let's write the wrapper implementation code for the view-item subpattern. First, let's create a wrapper file.
And write the logic for moving lines inside the parent DOM element into the created file. The view-item template moves in the direction of a certain radian, and when it crosses the boundaries of the outer container, it changes direction. And yet, for beauty, we will paint our lines in different colors, the setColor() function will be responsible for this :-).
File :templates/blocks/moving-containers+view-item.wrapper.js
The wrapper code performs a move, which is performed by the setPosition() method called by the timer (the timer() method) every 30 milliseconds. The timer starts when the wrapper is initialized and finishes its execution after calling the
Since we are moving the subpattern and changing the color by changing the style property of the DOM element, we need to position it on re-render. This is done by overloading the
It is also recommended that you familiarize yourself with the auxiliary functions used in the code.
Now you can run the application and see the result
